Street photography thrives on spontaneity, capturing unposed moments and the raw energy of urban environments. Unlike studio or landscape work, the street offers unpredictable light, fast-moving subjects, and fleeting opportunities. Mastering your camera settings is not about adhering to rigid rules, but about understanding how each adjustment influences the final image and being prepared to adapt instantly. The goal is to develop a fluid workflow that allows you to react to changing conditions, ensuring you capture the decisive moment with optimal technical quality. This guide breaks down the critical camera settings, explaining their impact and providing practical recommendations to elevate your street photography. This guide breaks down the best camera settings for street photography to help you capture those fleeting moments.
Adapting Your Approach for Street Photography
Successful street photography demands a proactive yet flexible approach to camera settings. The environment is dynamic; light changes with cloud cover or time of day, subjects move at varying speeds, and opportunities arise and vanish in seconds. Instead of constantly adjusting every parameter, experienced street photographers often pre-set their cameras for common scenarios or adopt semi-automatic modes that manage part of the exposure triangle. This allows for quicker reactions, reducing the chance of missing a shot while fumbling with dials. The key is to understand the trade-offs inherent in each setting choice—balancing depth of field with shutter speed, or ISO with noise levels—and to prioritize the elements most critical to your vision for a particular scene.
1. Shooting Mode
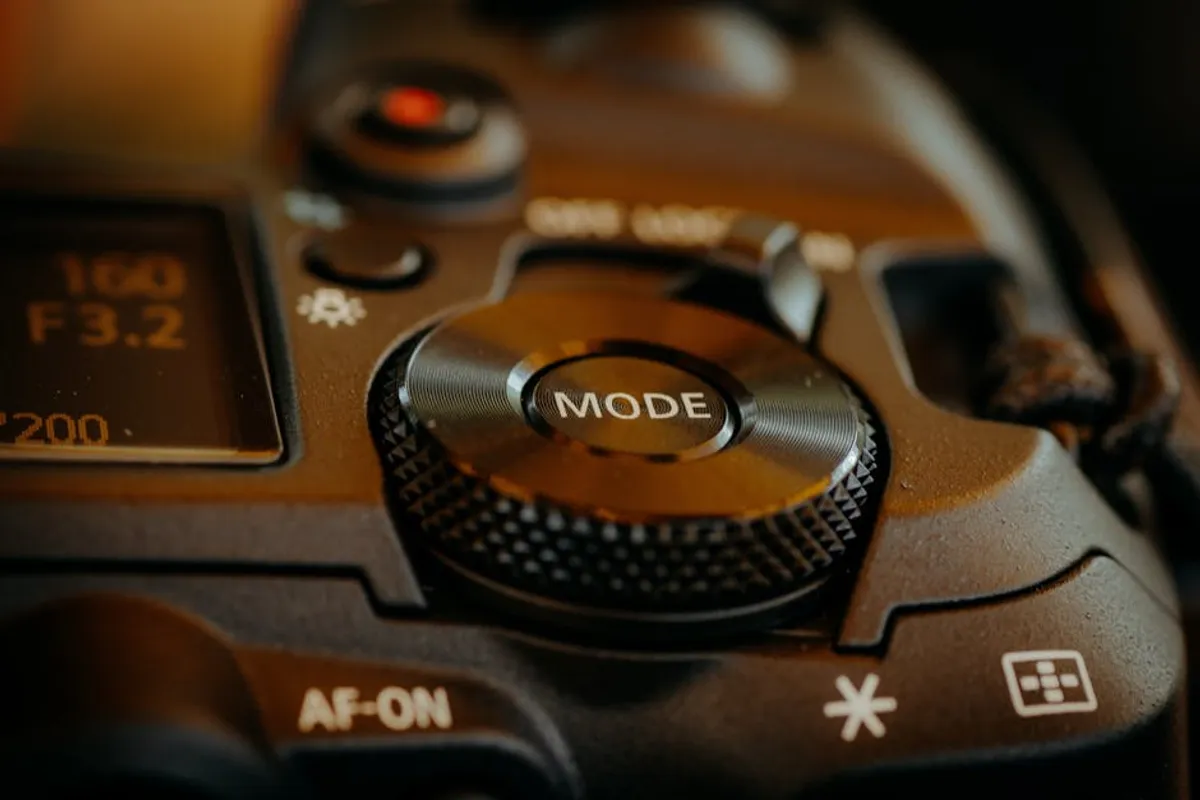
The shooting mode dictates how much control the camera exerts over exposure parameters. For street photography, the choice often comes down to balancing speed of operation with creative control. While full Manual (M) mode offers complete command, it can be too slow for rapidly changing street scenes. Program Auto (P) is often too restrictive, leaving little room for artistic input. Aperture Priority (Av/A) and Shutter Priority (Tv/S) modes strike a practical balance, allowing the photographer to prioritize a key creative element while the camera handles the rest.
Best for: Balancing creative control with responsiveness in dynamic environments.
Pros:
- Aperture Priority (Av/A): Excellent for controlling depth of field, whether isolating subjects with shallow depth or ensuring sharpness across a scene. The camera automatically selects the shutter speed for correct exposure.
- Shutter Priority (Tv/S): Ideal for managing motion, either freezing fast action or introducing intentional blur. The camera automatically sets the aperture.
- Manual (M): Offers ultimate control for consistent exposure in stable lighting or when using flash, though it requires more deliberate adjustment.
Cons:
- Aperture Priority (Av/A): In rapidly changing light, the automatically selected shutter speed might become too slow, leading to motion blur if not monitored.
- Shutter Priority (Tv/S): The camera's chosen aperture might not provide the desired depth of field, especially in extreme lighting.
- Manual (M): Can be too slow for spontaneous street moments, potentially causing missed shots if lighting conditions change frequently.
Verdict: For most street photographers, Aperture Priority (Av/A) or Shutter Priority (Tv/S) are the most practical choices, allowing focused control over a key creative element without sacrificing speed. Manual mode is best reserved for predictable lighting or specific creative effects.
2. Aperture (f-stop)
Aperture controls the size of the lens opening, directly influencing both the amount of light reaching the sensor and the depth of field (the portion of the image that appears acceptably sharp). In street photography, aperture is critical for defining your subject's relationship with its environment. A wide aperture (small f-number like f/1.8, f/2.8) creates shallow depth of field, isolating subjects against blurred backgrounds, while a narrow aperture (large f-number like f/8, f/11) keeps more of the scene in focus.
Best for: Controlling depth of field and managing light intake.
Pros:
- Wide Apertures (e.g., f/1.4-f/2.8): Excellent for subject isolation, creating a strong sense of focus on a person or detail. Allows more light, enabling faster shutter speeds or lower ISO in dim conditions.
- Medium Apertures (e.g., f/4-f/8): Provides a balanced depth of field, keeping subjects sharp while retaining some contextual background detail. Often considered a versatile range for general street shooting.
- Narrow Apertures (e.g., f/8-f/16): Ensures maximum depth of field, keeping multiple elements or an entire scene in sharp focus. Useful for capturing environmental portraits or scenes where context is paramount.
Cons:
- Wide Apertures: Can make precise focusing challenging, especially with moving subjects. May result in overly blurred backgrounds that lack context.
- Narrow Apertures: Reduces the amount of light, necessitating slower shutter speeds or higher ISO, which can introduce motion blur or digital noise. Diffraction can also reduce overall sharpness at very small apertures (e.g., f/16+).
Verdict: Choose your aperture based on your creative intent: wide for subject isolation, narrow for environmental context, and medium for a balanced approach. Be mindful of its impact on shutter speed and ISO.
3. Shutter Speed
Shutter speed dictates the duration the camera's sensor is exposed to light. It is the primary control for managing motion. A fast shutter speed (e.g., 1/500s, 1/1000s) freezes action, capturing sharp images of moving subjects. A slow shutter speed (e.g., 1/30s, 1/15s) allows for motion blur, conveying a sense of movement or creating artistic effects with light trails. In street photography, balancing sharpness with creative blur is a constant consideration.
Best for: Controlling motion rendition and managing light intake over time.
Pros:
- Fast Shutter Speeds (e.g., 1/250s and faster): Essential for freezing subjects in motion, ensuring sharp images of pedestrians, vehicles, or quick gestures. Reduces camera shake, especially with longer focal lengths.
- Medium Shutter Speeds (e.g., 1/60s - 1/125s): A good general-purpose range for relatively stationary subjects or when a slight sense of movement is acceptable. Helps manage ISO in moderate light.
- Slow Shutter Speeds (e.g., 1/30s and slower): Allows for intentional motion blur, creating dynamic effects with moving elements or light trails. Useful for conveying atmosphere in low light, often requiring a tripod or stabilization.
Cons:
- Fast Shutter Speeds: Requires more light or higher ISO, potentially introducing noise. May make static scenes appear too "frozen" or clinical.
- Slow Shutter Speeds: Highly susceptible to camera shake and unwanted motion blur from subjects, leading to unusable images without careful technique or stabilization.
Verdict: Prioritize shutter speed based on your subject's movement. Aim for 1/250s or faster for freezing action, or experiment with slower speeds for creative motion effects. Always consider the reciprocal relationship with aperture and ISO.
4. ISO
ISO determines the camera sensor's sensitivity to light. A lower ISO (e.g., 100, 200) produces cleaner images with less digital noise but requires more light. A higher ISO (e.g., 800, 1600, 3200) increases sensitivity, allowing for faster shutter speeds or smaller apertures in low light, but at the cost of increased image noise and reduced dynamic range. In street photography, where lighting is often unpredictable and low-light scenarios are common, managing ISO is crucial for achieving usable exposures.
Best for: Adjusting light sensitivity, especially in challenging lighting conditions.
Pros:
- Low ISO (e.g., 100-400): Delivers the cleanest image quality, minimal noise, and maximum dynamic range. Ideal for bright conditions or when image quality is paramount.
- High ISO (e.g., 800-6400+): Essential for shooting in low light, enabling faster shutter speeds to freeze action or smaller apertures for greater depth of field. Modern cameras handle higher ISOs with impressive results.
Cons:
- Low ISO: Restricts flexibility in low light, potentially forcing slower shutter speeds or wider apertures than desired.
- High ISO: Introduces digital noise, which can degrade image quality, reduce detail, and impact color accuracy. Reduces the available dynamic range.
Verdict: Use the lowest ISO possible for the desired shutter speed and aperture, but do not hesitate to increase it when necessary to get the shot. Modern cameras perform well at higher ISOs, making a slightly noisy but sharp image preferable to a clean but blurry one.
5. Focus Mode
Accurate focus is paramount in street photography, ensuring your subject is sharp and compelling. Cameras offer various autofocus (AF) modes and manual focus options. The choice of focus mode depends heavily on your subject's movement and your preferred shooting style. For street work, quick and reliable focusing is often prioritized.
Best for: Ensuring sharp focus on subjects, whether stationary or moving.
Pros:
- Single-Shot AF (AF-S / One-Shot AF): Locks focus once acquired, ideal for stationary subjects or pre-focusing on a spot where a subject is expected. Highly accurate for static scenes.
- Continuous AF (AF-C / AI Servo AF): Continuously tracks moving subjects as long as the shutter button is half-pressed. Essential for capturing people walking, cycling, or performing dynamic actions.
- Zone Focusing / Manual Focus: Pre-setting the focus distance and aperture (e.g., f/8 or f/11) to achieve a wide zone of acceptable sharpness. Excellent for quick, decisive shooting without relying on AF, especially for candid moments.
Cons:
- Single-Shot AF: Ineffective for moving subjects; a subject moving after focus is locked will be out of focus.
- Continuous AF: Can sometimes "hunt" or focus on unintended elements if not carefully controlled with appropriate AF point selection.
- Zone Focusing / Manual Focus: Requires practice and a good understanding of hyperfocal distance. Less effective for very close or very distant subjects without adjustment.
Verdict: For general street photography, Continuous AF (AF-C) is often the most versatile for dynamic scenes. For more deliberate, candid shots, or when speed is critical, zone focusing with manual pre-focus can be highly effective.
6. Metering Mode
Metering mode determines how your camera measures the light in a scene to calculate the correct exposure. In street photography, diverse lighting conditions—from harsh sunlight to deep shadows, backlighting, or mixed light—require an understanding of how each metering mode interprets the scene. The goal is to ensure your key subject is properly exposed, even if other areas are brighter or darker.
Best for: Achieving accurate exposure in varied lighting conditions.
Pros:
- Evaluative / Matrix Metering: Analyzes the entire scene, considering multiple zones to determine an average exposure. Highly reliable for general scenes with balanced lighting, often producing good results without intervention.
- Center-Weighted Average Metering: Prioritizes the central area of the frame while still considering the edges. Useful when your main subject is in the middle and you want to ensure its exposure.
- Spot Metering: Measures light from a very small, specific area (typically 1-5% of the frame). Indispensable for precise exposure of a key subject in challenging or high-contrast lighting, such as a backlit person.
Cons:
- Evaluative / Matrix Metering: Can be fooled by very bright or very dark elements within the scene, leading to underexposed subjects against bright backgrounds or overexposed subjects against dark backgrounds.
- Center-Weighted Average Metering: Less precise than spot metering for complex lighting, and less comprehensive than evaluative for balanced scenes.
- Spot Metering: Requires careful placement on the exact tone you wish to expose correctly; misplacing the spot can lead to incorrect overall exposure.
Verdict: Evaluative/Matrix metering is a solid default for most street scenarios. However, for high-contrast situations or backlit subjects, switch to spot metering and measure off a mid-tone on your subject to ensure accurate exposure.
7. White Balance
White balance (WB) corrects color casts, ensuring that white objects appear neutral in your photographs. Different light sources (daylight, shade, tungsten, fluorescent) have different color temperatures, which the camera interprets. While Auto White Balance (AWB) works well in many situations, manually setting WB or using a preset can ensure more consistent and accurate colors, or even be used creatively to enhance mood.
Best for: Ensuring accurate color rendition or creating specific color moods.
Pros:
- Auto White Balance (AWB): Generally reliable for a wide range of lighting conditions, offering convenience and decent accuracy in most street scenes.
- Presets (Daylight, Cloudy, Shade, Tungsten, Fluorescent): Provides more accurate color correction for specific lighting types, leading to more consistent results than AWB in those conditions.
- Custom White Balance: Offers the most precise color accuracy by measuring a neutral gray or white object under the actual lighting conditions.
- Shoot in RAW: Allows for complete white balance adjustment in post-processing without loss of quality.
Cons:
- Auto White Balance (AWB): Can sometimes be inconsistent, particularly under mixed lighting or strong color casts, leading to varying color temperatures between shots.
- Presets: Requires manual selection, which can be slow in fast-paced street scenarios if light conditions change frequently.
- Custom White Balance: Too time-consuming for most spontaneous street photography; impractical for dynamic environments.
Verdict: AWB is a practical default. For more critical work or specific mood, consider using a preset like "Cloudy" to warm up a scene or "Daylight" for consistent neutral tones. Shooting RAW offers the most flexibility for post-capture WB adjustments.
8. Drive Mode
Drive mode controls how your camera takes pictures when the shutter button is pressed. For street photography, the choice often comes down to single-shot for deliberate compositions or continuous shooting for capturing sequences of action. The right drive mode can significantly impact your ability to capture the peak of a moment or a series of expressions.
Best for: Managing the capture rate of images, from single frames to rapid sequences.
Pros:
- Single Shot: Ideal for deliberate compositions, ensuring you only capture the precise moment you intend. Conserves memory card space.
- Continuous Low (CL): Captures a few frames per second, offering a balance between capturing a sequence and not filling your buffer too quickly. Useful for slightly unpredictable subjects.
- Continuous High (CH): Captures many frames per second, maximizing the chances of catching the peak of fast action or a specific expression.
Cons:
- Single Shot: Can lead to missed moments if the action is too fast or unpredictable.
- Continuous High: Generates many images, requiring more culling time and consuming significant memory card space and battery life. Can also make the photographer less deliberate in their shooting.
Verdict: Continuous Low is often a good compromise, providing a safety net for slightly moving subjects without overwhelming your memory card. Use Single Shot for deliberate, static compositions and Continuous High for truly fast-paced action where the decisive moment is hard to predict.
9. Exposure Compensation
Exposure compensation allows you to override the camera's meter-determined exposure, making the image brighter or darker than the camera's default recommendation. This is particularly useful in street photography when the camera's automatic metering might be fooled by unusual lighting, such as a bright background causing underexposure of a subject, or a dark background causing overexposure.
Best for: Fine-tuning exposure in semi-automatic modes (Av/A, Tv/S, P) to achieve desired brightness.
Pros:
- Quick Adjustment: Easily accessible dial or button allows for rapid brightening or darkening of the scene without changing aperture, shutter speed, or ISO directly.
- Corrects Metering Errors: Essential for situations where the camera's meter is fooled, such as backlit subjects (dial in +EV) or subjects against very bright backgrounds (dial in -EV).
- Creative Control: Can be used to intentionally overexpose for a brighter, airy look, or underexpose for a moodier, dramatic effect.
Cons:
- Requires Monitoring: Easy to forget it's engaged, leading to a series of consistently over or underexposed shots if not reset.
- Limited Range: Typically operates within a +/- 3 to 5 stop range, which may not be enough for extreme exposure corrections in Manual mode.
Verdict: Keep a hand on your exposure compensation dial, especially in Aperture or Shutter Priority modes. It's a fundamental tool for ensuring your subject is correctly exposed and for injecting creative brightness adjustments.
10. File Format (RAW vs. JPEG)
The file format dictates how your camera processes and saves image data. JPEG files are processed in-camera, compressed, and ready for immediate use. RAW files, on the other hand, contain all the unprocessed sensor data, offering maximum flexibility for post-processing but requiring dedicated software. For street photography, the choice impacts workflow speed and post-production potential.
Best for: Balancing image quality, post-processing flexibility, and storage efficiency.
Pros:
- RAW: Retains maximum image data, allowing for extensive adjustments to exposure, white balance, color, and contrast in post-processing without quality degradation. Offers the greatest potential for recovering details in highlights and shadows.
- JPEG: Smaller file sizes, saving memory card space and allowing for faster camera buffer clearing. Ready to use straight out of the camera with in-camera processing applied (sharpening, color, contrast).
Cons:
- RAW: Larger file sizes require more storage and slower buffer clearing. Requires post-processing software and time to develop images. Not immediately usable without conversion.
- JPEG: Limited flexibility for post-processing; significant adjustments can lead to visible quality loss. In-camera processing is destructive and cannot be undone.
Verdict: For maximum flexibility and control over the final image, especially in challenging street lighting, shoot in RAW. If speed of delivery and storage efficiency are paramount, and you are confident in your in-camera settings, JPEG can be suitable. A common compromise is shooting RAW+JPEG.
11. Dynamic Range Optimization Settings
Modern cameras often include features designed to expand the effective dynamic range of an image, helping to retain detail in both very bright highlights and very dark shadows within the same frame. These settings, such as Nikon's Active D-Lighting or Canon's Highlight Tone Priority, are particularly useful in street photography where scenes often feature high contrast, such as bright skies and deep shadows. They work by adjusting the tone curve to prevent clipping in either extreme.
Best for: Managing high-contrast scenes and preserving detail in highlights and shadows.
Pros:
- Preserves Detail: Helps prevent blown-out highlights or crushed shadows, especially in JPEG files, by adjusting the camera's tone curve.
- Improved In-Camera JPEGs: Can produce more balanced and visually pleasing JPEGs directly from the camera, reducing the need for extensive post-processing.
- Subtle Enhancement: Often applies a subtle, natural-looking adjustment that avoids an HDR-like appearance.
Cons:
- Can Affect RAW (indirectly): While RAW files contain the full dynamic range, these settings primarily affect the camera's JPEG processing. Some