Capturing the intricate beauty of architecture and the dynamic pulse of cityscapes demands a methodical approach, blending technical precision with artistic vision. Unlike general landscape photography, urban and architectural subjects often present unique challenges: managing converging lines, isolating specific details amidst clutter, and working with varied lighting conditions from harsh daylight to complex artificial illumination. The objective is not merely to document a structure or scene, but to convey its character, scale, and the stories embedded within its design and environment. Achieving this requires deliberate choices in equipment, composition, and post-processing, ensuring every element contributes to a compelling visual narrative.
Essential Gear for Architectural and City Photography
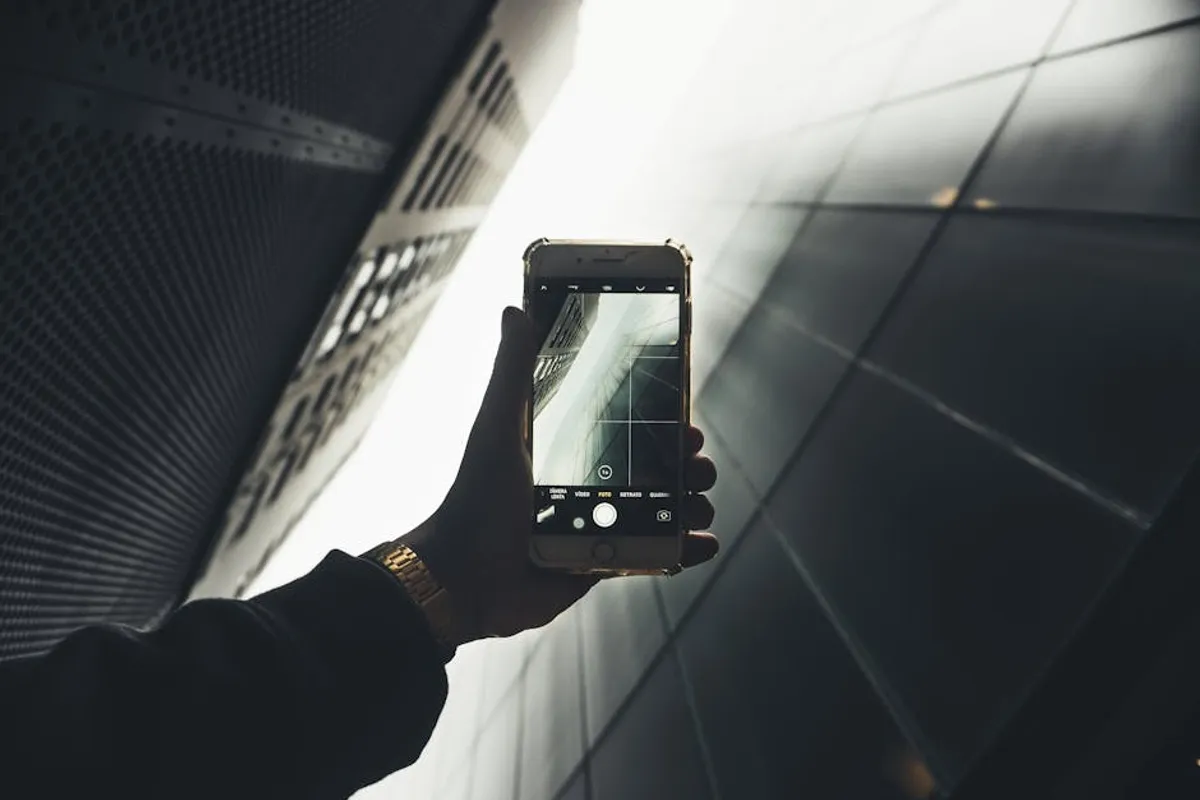
The right equipment forms the foundation for capturing high-quality architectural and city details. While a modern smartphone can achieve passable results, dedicated camera systems offer the control and resolution necessary for professional-grade images.
- Camera Body: A full-frame or APS-C DSLR/mirrorless camera provides superior dynamic range and low-light performance, crucial for varied urban environments. Look for bodies with good resolution (24MP+) for detailed crops and large prints.
- Lenses:
- Wide-Angle Lenses (14-24mm equivalent): Indispensable for capturing expansive cityscapes and the full facade of large buildings. These lenses allow inclusion of surrounding context, but be mindful of perspective distortion, especially at the edges.
- Standard Prime/Zoom Lenses (24-70mm equivalent): Versatile for street photography, isolating architectural elements, and capturing mid-range views without excessive distortion. Primes (e.g., 35mm, 50mm) often offer superior sharpness and larger apertures for low light.
- Telephoto Lenses (70-200mm equivalent and beyond): Excellent for compressing perspective, isolating distant architectural details, or creating abstract compositions from far-off vantage points.
- Tilt-Shift Lenses (e.g., 17mm, 24mm, 45mm): These specialized lenses are invaluable for architecture. They allow correction of converging vertical lines (keystoning) directly in-camera by shifting the lens relative to the sensor, maintaining parallel lines without perspective distortion. The tilt function can also be used for creative depth-of-field control.
- Tripod: A sturdy tripod is non-negotiable for sharp images, especially in low light, for bracketing exposures, or when using slower shutter speeds to smooth out water or remove moving people. Look for carbon fiber models for portability and stability.
- Remote Shutter Release: Prevents camera shake during long exposures, ensuring maximum sharpness.
- Filters:
- Polarizer: Reduces glare from reflective surfaces (glass, water), enhances color saturation, and darkens skies.
- Neutral Density (ND) Filters: Allows for longer exposures in bright conditions, useful for creating motion blur in clouds or water, or "erasing" crowds from busy scenes.
Mastering Composition and Perspective
Effective composition transforms a mere snapshot into an impactful photograph. Architectural and city photography offers abundant opportunities to utilize strong compositional elements.
Utilizing Lines and Symmetry
Buildings are inherently composed of lines, both horizontal and vertical. Use these to your advantage:
Leading Lines: Roads, pathways, building edges, and shadows can guide the viewer's eye towards a focal point.
Symmetry: Many architectural designs are symmetrical. Centering a symmetrical building or element can create a powerful, balanced image. Experiment with slight offsets to introduce tension or dynamism.
Framing and Negative Space
Natural Framing: Use elements within the scene, such as archways, windows, or adjacent buildings, to frame your main subject. This adds depth and context.
Negative Space: Don't fill every part of the frame. Open skies, calm water, or clear walls around your subject can emphasize its form and allow it to breathe, drawing attention to its details.
Managing Perspective Distortion
When shooting tall buildings from ground level with a standard lens, vertical lines often appear to converge inwards (keystoning).
Correction with Tilt-Shift Lenses: The most effective method is to use a tilt-shift lens, which optically corrects perspective in-camera.
Digital Correction: If a tilt-shift lens is unavailable, shoot slightly wider than needed and correct perspective in post-processing software. This often requires cropping, so ensure sufficient resolution.
Finding Higher Vantage Points: Shooting from a higher elevation (e.g., another building, a hill) can reduce or eliminate keystoning.
Optimizing Light and Time of Day
Light is the ultimate sculptor of form and texture. Its quality, direction, and color dramatically impact how architectural and city details are perceived.
Golden Hour (shortly after sunrise, before sunset): Provides warm, soft light that highlights textures and casts long, dramatic shadows. This light quality often enhances the color and character of building materials.
Blue Hour (just after sunset, before sunrise): The sky takes on a deep blue hue, contrasting beautifully with artificial lights emanating from buildings and streets. This period offers a magical, moody atmosphere for cityscapes.
Overcast Days: Soft, diffused light on overcast days minimizes harsh shadows and provides an even illumination ideal for capturing intricate details without high-contrast distractions. Colors often appear richer and more saturated.
Night Photography: Focus on artificial lights, reflections, and the interplay of light and shadow. Use a tripod and longer exposures to capture light trails from vehicles or illuminate static elements.
Technical Settings for Sharpness and Detail
Achieving sharp, detailed images requires careful attention to camera settings.
Aperture: For architectural photography, a mid-range aperture (f/8 to f/16) typically provides maximum sharpness across the entire scene by ensuring sufficient depth of field. Avoid extremely wide or narrow apertures unless specifically for creative effect, as diffraction can reduce sharpness at very small apertures (e.g., f/22).
ISO: Keep ISO as low as possible (e.g., ISO 100 or 200) to minimize digital noise, which can obscure fine details. Only increase ISO when absolutely necessary for proper exposure, such as in very low light conditions.
Shutter Speed: When using a tripod, shutter speed can be adjusted for optimal exposure without concern for camera shake. For moving subjects or to freeze action, a faster shutter speed is needed. For long exposures (e.g., smoothing water, light trails), use slower speeds, often in conjunction with ND filters.
Focusing: Use single-point autofocus and focus precisely on the most important detail or a point one-third into the scene (hyperfocal distance) to maximize depth of field. Manual focus with live view magnification can offer ultimate precision.
Pro Tip: Always scout your locations. Visit at different times of day to observe how light falls on the architecture. Use apps to track sun position and plan your shoots around optimal lighting conditions. This foresight saves significant time and improves photographic outcomes by ensuring you're present when the scene is at its most photogenic.
Post-Processing for Refinement
Post-processing is integral to architectural and city photography, allowing for corrections and enhancements that bring out the best in your images.
Lens Corrections: Apply lens profile corrections to automatically fix geometric distortions, chromatic aberration, and vignetting introduced by your lens.
Perspective Correction: Use the transform tools in your editing software to correct converging verticals and horizontals. This is crucial for maintaining the integrity of architectural lines.
Exposure and Contrast: Adjust global exposure, highlights, shadows, whites, and blacks to recover detail in both bright and dark areas. Use local adjustments (e.g., radial filters, graduated filters, adjustment brushes) to selectively enhance specific parts of the image.
Sharpening and Noise Reduction: Apply subtle sharpening to enhance fine details. If shooting at higher ISOs, judicious noise reduction can clean up images without overly softening textures.
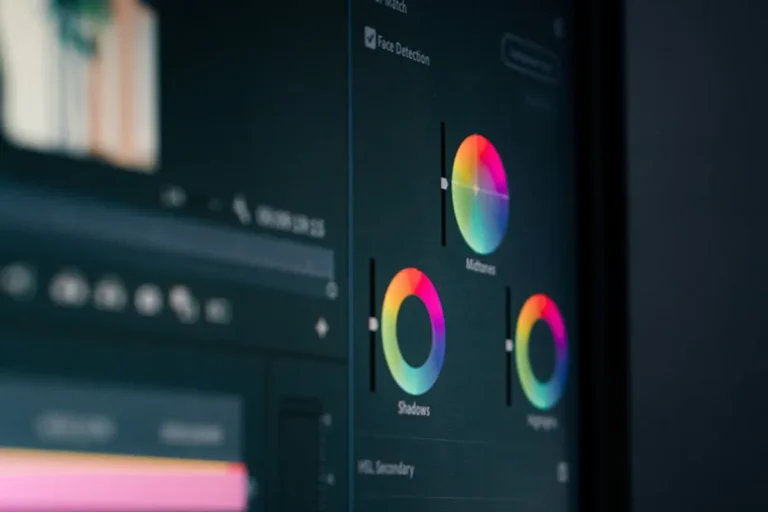
Color Grading: Adjust white balance and color saturation to achieve the desired mood. Be mindful of maintaining realistic color representation unless a specific artistic effect is intended.
Bringing Your Vision to Life
Capturing architecture and city details is a continuous learning process. It involves more than just pointing a camera; it's about seeing, understanding, and interpreting the built environment. Experiment with different angles, embrace challenging light, and refine your technical skills. Each building, street, and urban vista offers a unique story, and your role is to translate that narrative into a compelling visual form. The combination of meticulous planning, precise execution, and thoughtful post-processing will elevate your images from mere documentation to impactful visual art.
Frequently Asked Questions
How do I avoid crowds in my city photos?
Shoot early in the morning (sunrise or blue hour) when streets are less populated. Alternatively, use long exposure photography with an ND filter (e.g., 10-stop) to make moving people disappear from the frame, rendering them as ethereal blurs or entirely invisible.
What's the best way to deal with reflections in glass buildings?
A circular polarizer filter is essential for managing reflections. Rotate the filter to control the amount of reflection and glare, allowing you to either emphasize or minimize them. Shooting on overcast days also reduces harsh reflections.
My architectural photos look flat. How can I add depth?
Flatness often results from shooting in direct, overhead light or without compositional elements that create depth. Try shooting during golden hour for dramatic shadows and highlights. Incorporate leading lines, foreground elements, or natural frames to draw the viewer into the scene and create a sense of three-dimensionality.
Should I always use a tripod for architectural photography?
While not strictly "always," a tripod is highly recommended for most architectural work. It ensures maximum sharpness, allows for precise composition, facilitates bracketing for HDR, and is essential for long exposures in low light. For handheld shots, ensure your shutter speed is fast enough to prevent blur (generally 1/focal length or faster) and consider using image stabilization.